
You will require the following things in order to root your device:
Unlocked Bootloader and Flashed Custom Recovery : Like TWRP , CWM , Philz , CM , etc...
TWRP : http://teamw.in/project/twrp2/268/
To unlock bootloader follow these steps :
Step 1 : Download ADB Drivers and extract the folder on desktop.
Step 2 : Swich off your phone and boot it in fastboot mode(hold Volume Up Button + Volume Down Button and then press the power Button) and connect your phone to pc.
Step 3 : Now open ADB folder from desktop and press Shift + Right Click on any empty space inside the folder and select open command window here.
Step 4 : Execute the following commands :
Now your bootloader is unlocked and then proceed to Flash Recovery file.
TWRP : http://teamw.in/project/twrp2/268/
To unlock bootloader follow these steps :
Warning : By Unlocking Bootloader warranty will be avoided and try all the process at your own risk. We are not responsible for any of your bricking and all but we had tried this before so trust us nothing will happen if you will go through this tutorial.
Step 1 : Download ADB Drivers and extract the folder on desktop.
Step 2 : Swich off your phone and boot it in fastboot mode(hold Volume Up Button + Volume Down Button and then press the power Button) and connect your phone to pc.
Step 3 : Now open ADB folder from desktop and press Shift + Right Click on any empty space inside the folder and select open command window here.
Step 4 : Execute the following commands :
fastboot oem unlock
fastboot format userdata
Now your bootloader is unlocked and then proceed to Flash Recovery file.
If you are not able to Unlocked Bootloader and flash Custom Recovery(refer to method 1 and 2 stated below) then we recommended you to use Android One Tool Kit that will help you to easily Unlock Bootloader and Flash Recovery (Android One Tool Kit won't be able to Root Android One running on Marshmallow so to do this you should follow the steps given below)
There are two methods to root Android one so let's have a look on it :
Method 1 ( Root With Stock Kernel )
Step 1 : First download Super Su V2.52 and MM Root Patcher.
Step 2 : Boot your phone into Recovery.
Step 3 : Now flash MM Root Patcher.
Step 4 : After successfully flashing MM Root Patcher then flash Super Su V2.52.
Step 5 : Reboot your device after done.
Congrats you rooted your phone successfully.
Method 2 ( Root With Custom Kernel )
Step 1 : First download Super Su V2.52 and any Custom Kernel at your wish(like Thunder Zap).
Step 2 : Now boot your phone into Recovery.
Step 3 : Flash Custom Kernel which you have downloaded and then flash Super Su V2.52.
Step 4 : That's it, now reboot your phone.
Congrats you rooted your phone successfully.
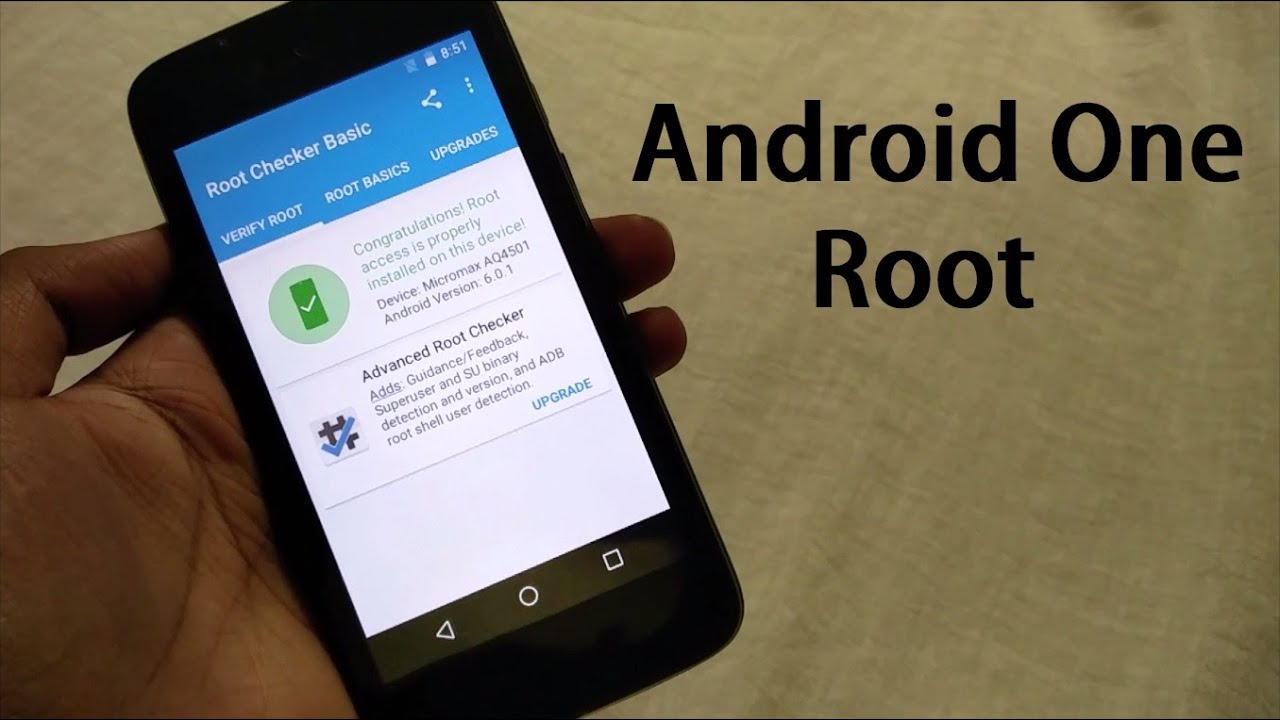
For your surety check withRoot Checker that your phone is rooted successfully or not.
For your surety check withRoot Checker that your phone is rooted successfully or not.
We are searching for some of the other methods to root Android One devices so this article will be updated as soon as we find a new method. Till then Enjoy with these methods and feel free to discuss your problems with us :)


0 comments:
Hey Guys,
We are here to solve your problems related to technology and hacking
So keep visiting to the website to be updated